

Your hands will have their share of close-ups on your wedding day, from the ring exchange to the bouquet photos. A little planning helps you choose bridal nails that feel like you and still look fresh when the camera comes out.
Here’s a timeline for booking your wedding manicure, trying a new look and leaving enough room for the rest of your plans.
Two to three months before: Make a nail plan
Start by thinking about the length, shape and finish you’ll be comfortable wearing. A delicate French tip or sheer pink is a classic choice, but there’s no rule that says bridal nails have to be pale. A soft shimmer, a deep fall shade or a simple design can look just as intentional.
Save a few inspiration photos and notice what they have in common. Are the nails short and rounded, or long and almond-shaped? Is the color translucent or opaque? Bring those details to your appointment, along with a photo of your dress or accessories if you’d like help coordinating.
If you usually keep your nails short, give yourself time to see how a little extra length feels. Extensions can create length without waiting for natural growth, but they may take some getting used to. Consider how easily you can handle buttons, contacts and your phone.
This is also a good time to think about your calendar. For a wedding near Thanksgiving or during the holiday party season, plan ahead for the appointment time you want. If several people in your wedding party want services together, call early to discuss availability and timing.
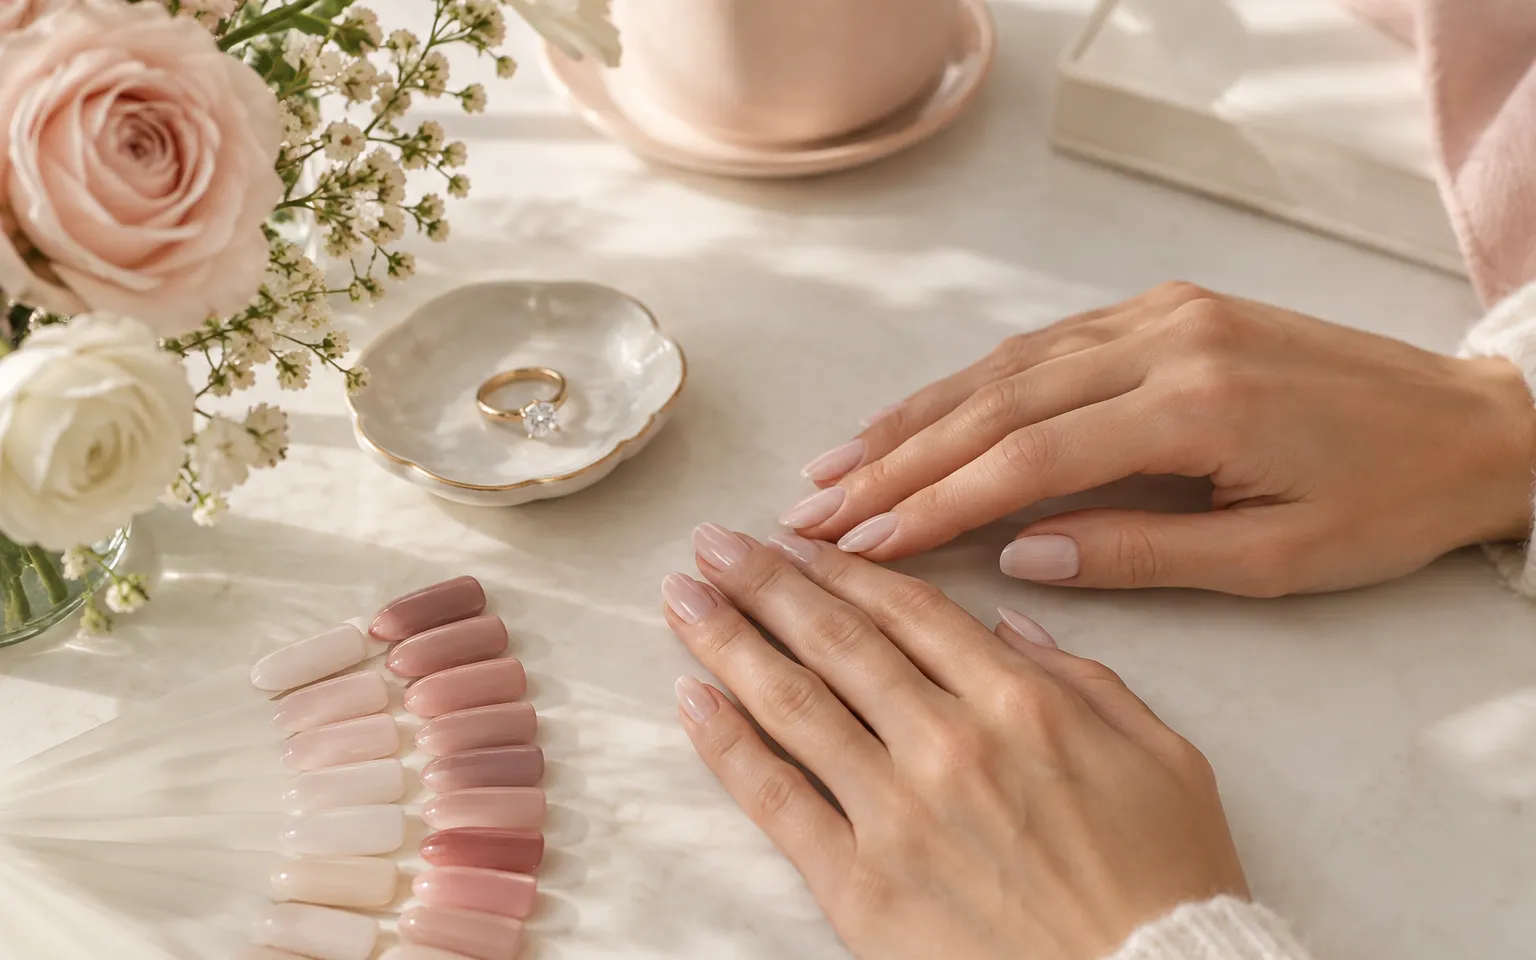
Four to six weeks before: Try your wedding look
A trial appointment gives you a chance to wear your chosen color and shape in real life. Look at your nails indoors and in daylight, and take a few photos next to your ring. A shade that looks subtle in the bottle may appear more pink, beige or bright once it’s on your hands.
Tell your technician what you like and what you’d change. You might want a thinner French line, a shorter shape or a more opaque color. If you’re considering nail art, bring your reference photo and mention it when booking so the appointment can include time for the design.
Think about the finish as well:
- Classic polish: A straightforward choice if you like changing colors often. Allow time for it to dry and be mindful of chips.
- Gel polish: A high-shine option that resists chips for weeks, though wear varies. It needs proper removal rather than peeling.
- Dip, acrylic, builder gel or Gel-X: Options to discuss if you want an overlay or added length. Each has different maintenance and removal needs.
Our guide to choosing between Gel-X, acrylic, dip and builder gel can help you prepare questions for your technician. A trial is especially useful if you’ve never worn the service before.
Tip: Take a daylight photo of the trial and note the service, color and shape you chose. It makes the final appointment easier to plan.
Two to three weeks before: Book the final appointment
If you haven’t already reserved your wedding-week visit, do it now. Aim for one to two days before the wedding for your final manicure. That gives you a little breathing room if your schedule changes while keeping the finish fresh for the celebration.
For classic polish, consider the day before and leave enough time afterward for drying. Gel polish can be a practical choice one or two days ahead, especially if you’ll be traveling or setting up decorations. Neither finish is guaranteed to stay perfect, so leave room in your schedule to address an unexpected chip.
When booking, mention any existing product that needs to be removed, along with extensions, French tips or detailed art. These can add time to your visit. The manicure menu lists the services and estimated appointment lengths; add-ons and removal may require additional time.
If you already wear acrylic or builder gel, plan your usual fill around the wedding rather than trying to squeeze it into an unfamiliar schedule. Let your technician know the date and how much growth you typically have between visits.
Wedding week: Keep the appointment simple
Bring your trial notes or photos, and speak up before the service begins if anything has changed. Check the length and shape before the color goes on. It’s much easier to make a small adjustment at that point than after the design is finished.
Try to schedule hands-on tasks, such as assembling favors or arranging flowers, before your manicure. Afterward, use gloves for cleaning and avoid using your nails to open packages. Keep hand cream or cuticle oil nearby, but wipe excess product from your hands before handling delicate fabrics.
If you’re also booking a pedicure, think about your shoes and schedule. Open-toe shoes can be helpful after classic polish, which needs drying time. For a group, ask the salon how to arrange appointments rather than assuming everyone can be seated at once.
Notice redness, swelling, pain or another concerning reaction around a nail? Skip the service on the affected area and see a doctor or dermatologist. Don’t cover a possible problem with polish or an enhancement.
Wedding day and after: Have a small backup plan
Pack a little hand cream and a nail file in your getting-ready bag. If you’re wearing classic polish, you may also want a matching polish for a small touch-up. Gently smooth a snag with the file rather than pulling at it. For a lifted enhancement or damaged gel, avoid picking or gluing it down yourself; contact the salon for guidance.
After the celebration, resist the temptation to peel off gel or dip. Proper removal takes a little more planning, but pulling product away can take layers of natural nail with it. Our article on why proper soak-offs matter explains what to consider.
Make your wedding-week appointment
At P&T Nails Spa in Oviedo, we’re happy to help you plan a manicure that fits your wedding-day look and your schedule. You can book an appointment online or call (407) 365-2466; let us know if you need removal, extra design time or appointments for a group.


